![]()
Posting to Social Media
Posting Text
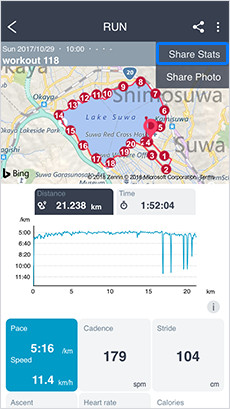
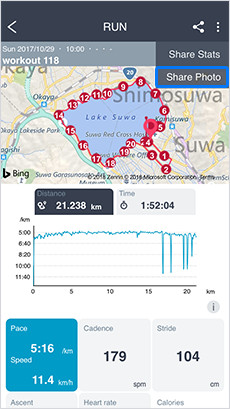
- 1.In the workout details screen, tap the “Post Text” icon for posting to social media.
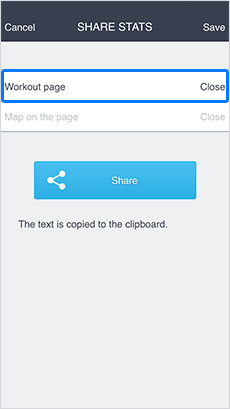
- 2.To share your workout page, change the setting for your “Workout Page” to “Public”.
If you’d like to share a route map for your activity, change the setting for “Map Information” to “Public”. - 3.Tap the “Post” button.
- 4.Confirm the comment to be posted, and tap “Share”.
※ If you are not logged in to the app you are posting to, you will need to enter your user ID and password.
Please follow the instructions on the screen and enter your user ID and password to share your post.
※ Posting to Facebook
- In order for Epson View to post to Facebook on your behalf, you will need to allow it to do so. If you have not granted Epson View permission to post on your behalf, you will be directed to the Facebook authorization page after clicking the “Post to Facebook” button.
- The Facebook authorization page will display a dropdown list of the privacy settings for the posts made on your behalf by Epson View. Please change the settings as necessary.
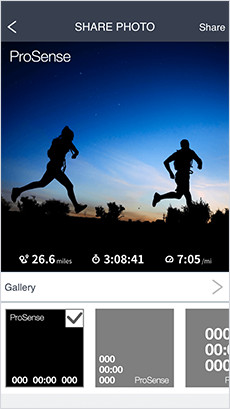
Post Photo
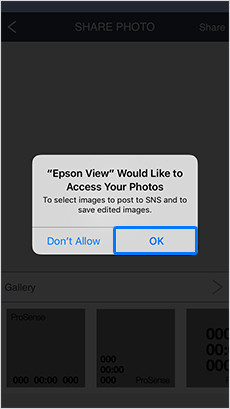
- 1.In the workout details screen, tap the “Post Photo” icon for posting to social media.
- 2.If you see a message regarding images, tap “OK”.
- 3.Select the photo you’d like to post.
- 4.Adjust the size and position of the photo, and select the method of displaying your workout data from the options below.
- – Pinch out/in to zoom in/out.
- – Drag the image to adjust its position.
- 5.Tap the “Post” button.
- 6.Select the service you are posting to, and confirm the comment to be posted before sharing.
- ※ If you are not logged in to the app you are posting to, you will need to enter your user ID and password.
Please follow the instructions on the screen and enter your user ID and password to share your post.